Do not hesitate to contact me via e-mail ([email protected]) if you have any question or comment. If see an error, you can issue a pullme request om my github
My first A to Z electronic project
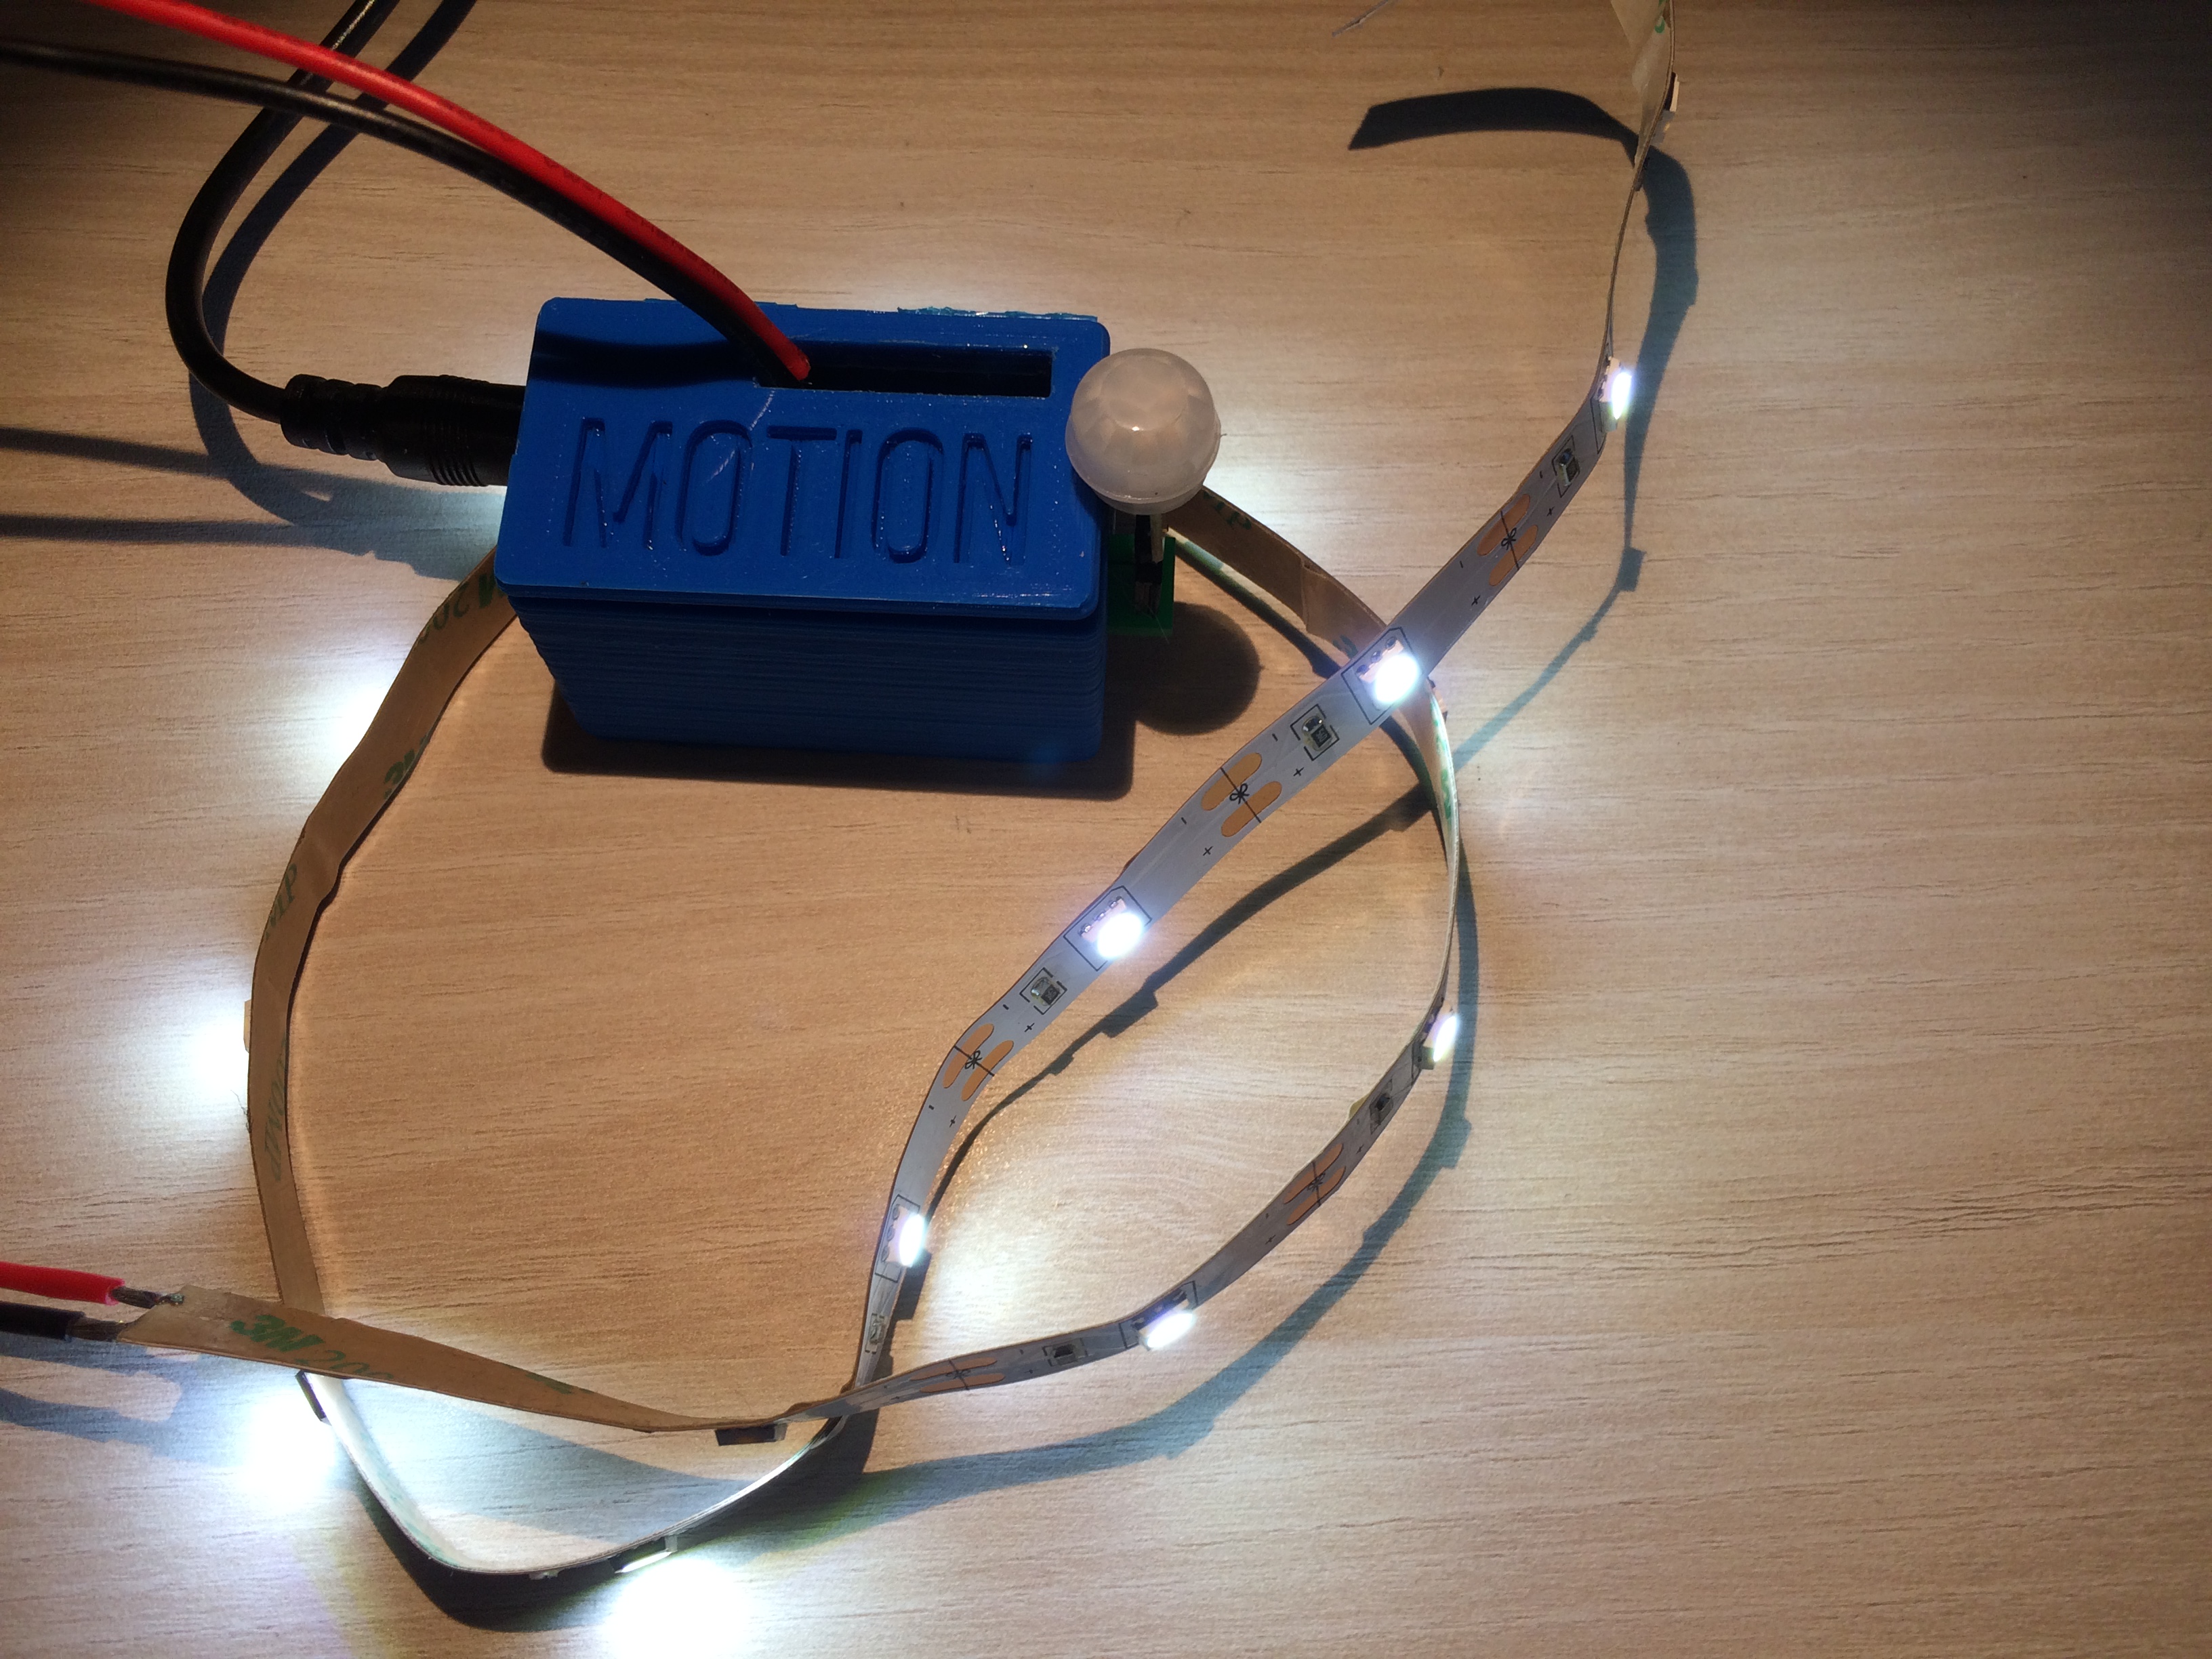
Recently, while trying to find my favorite shirt in my closet, I came into the issue that I couldn’t see a thing in it. Since I’m an electronic enthusiast, I thought: “Why not building my own lighting system for my closet?”.
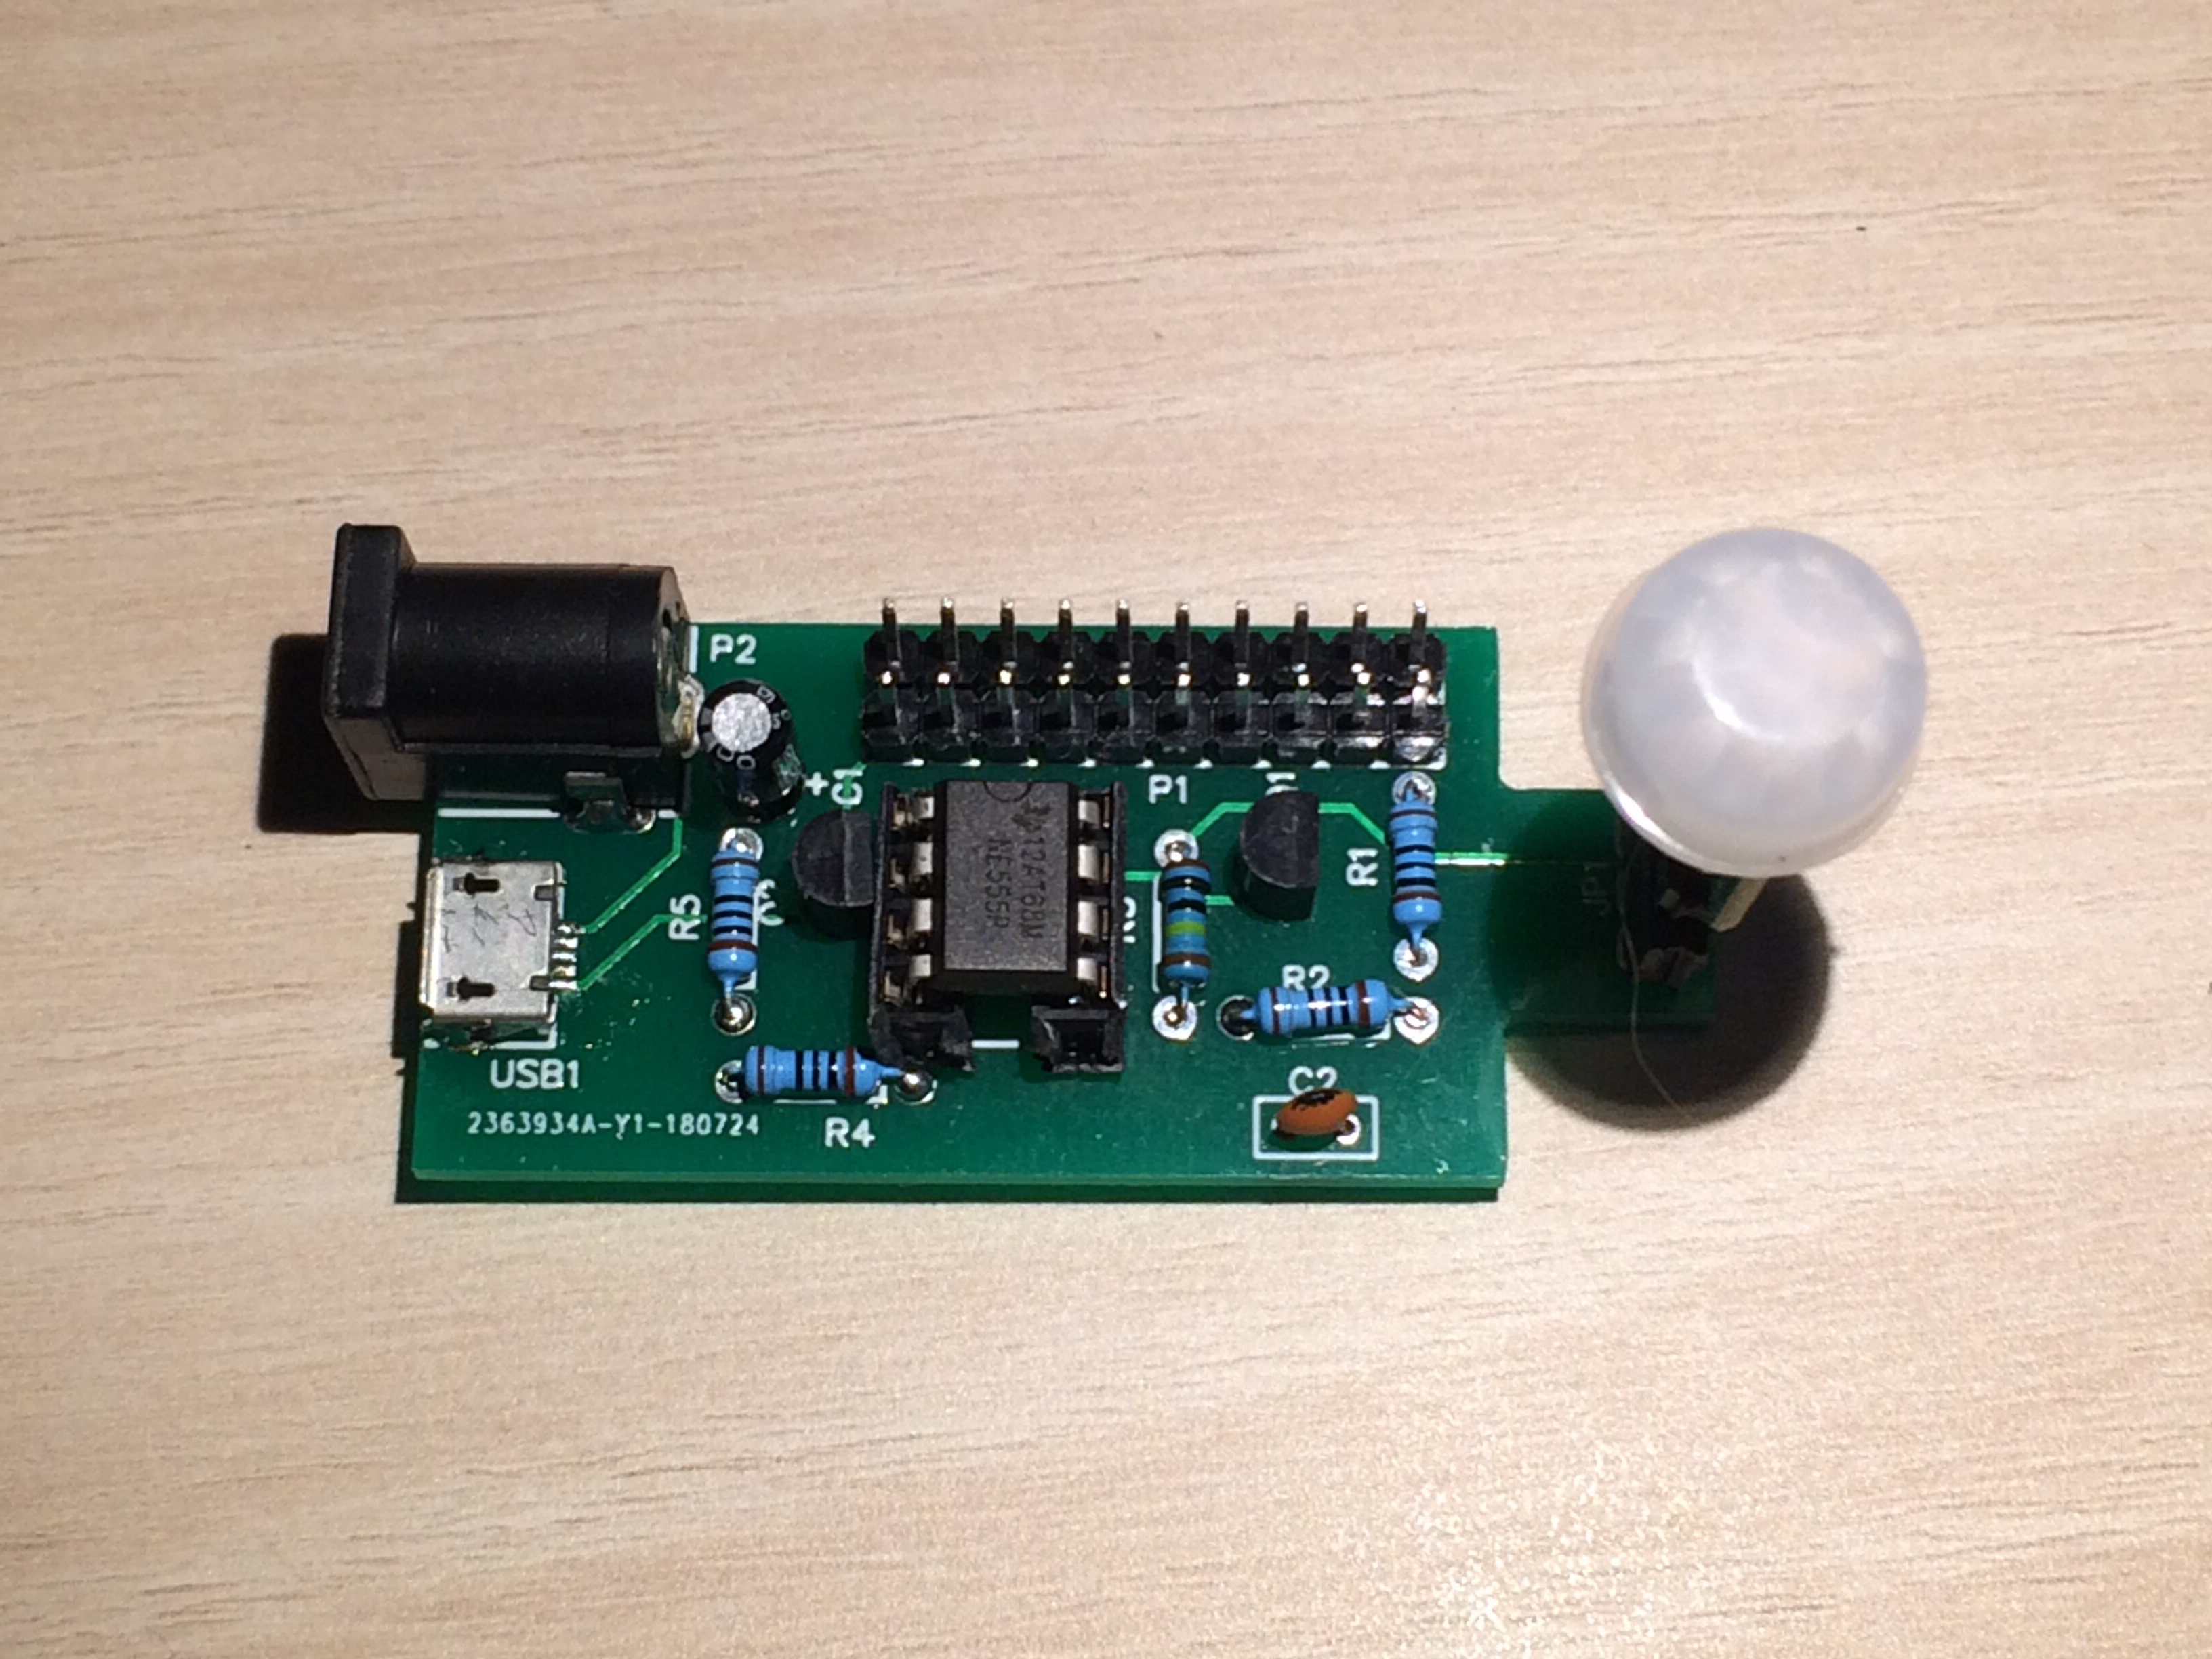
That was it, I had the idea of making a small PCB which would feature the following:
- Possibility to plug several LED strips in parallel.
- A motion sensor that would trigger the LED strips, since my closet does not have any door.
- No µController, low power consumption.
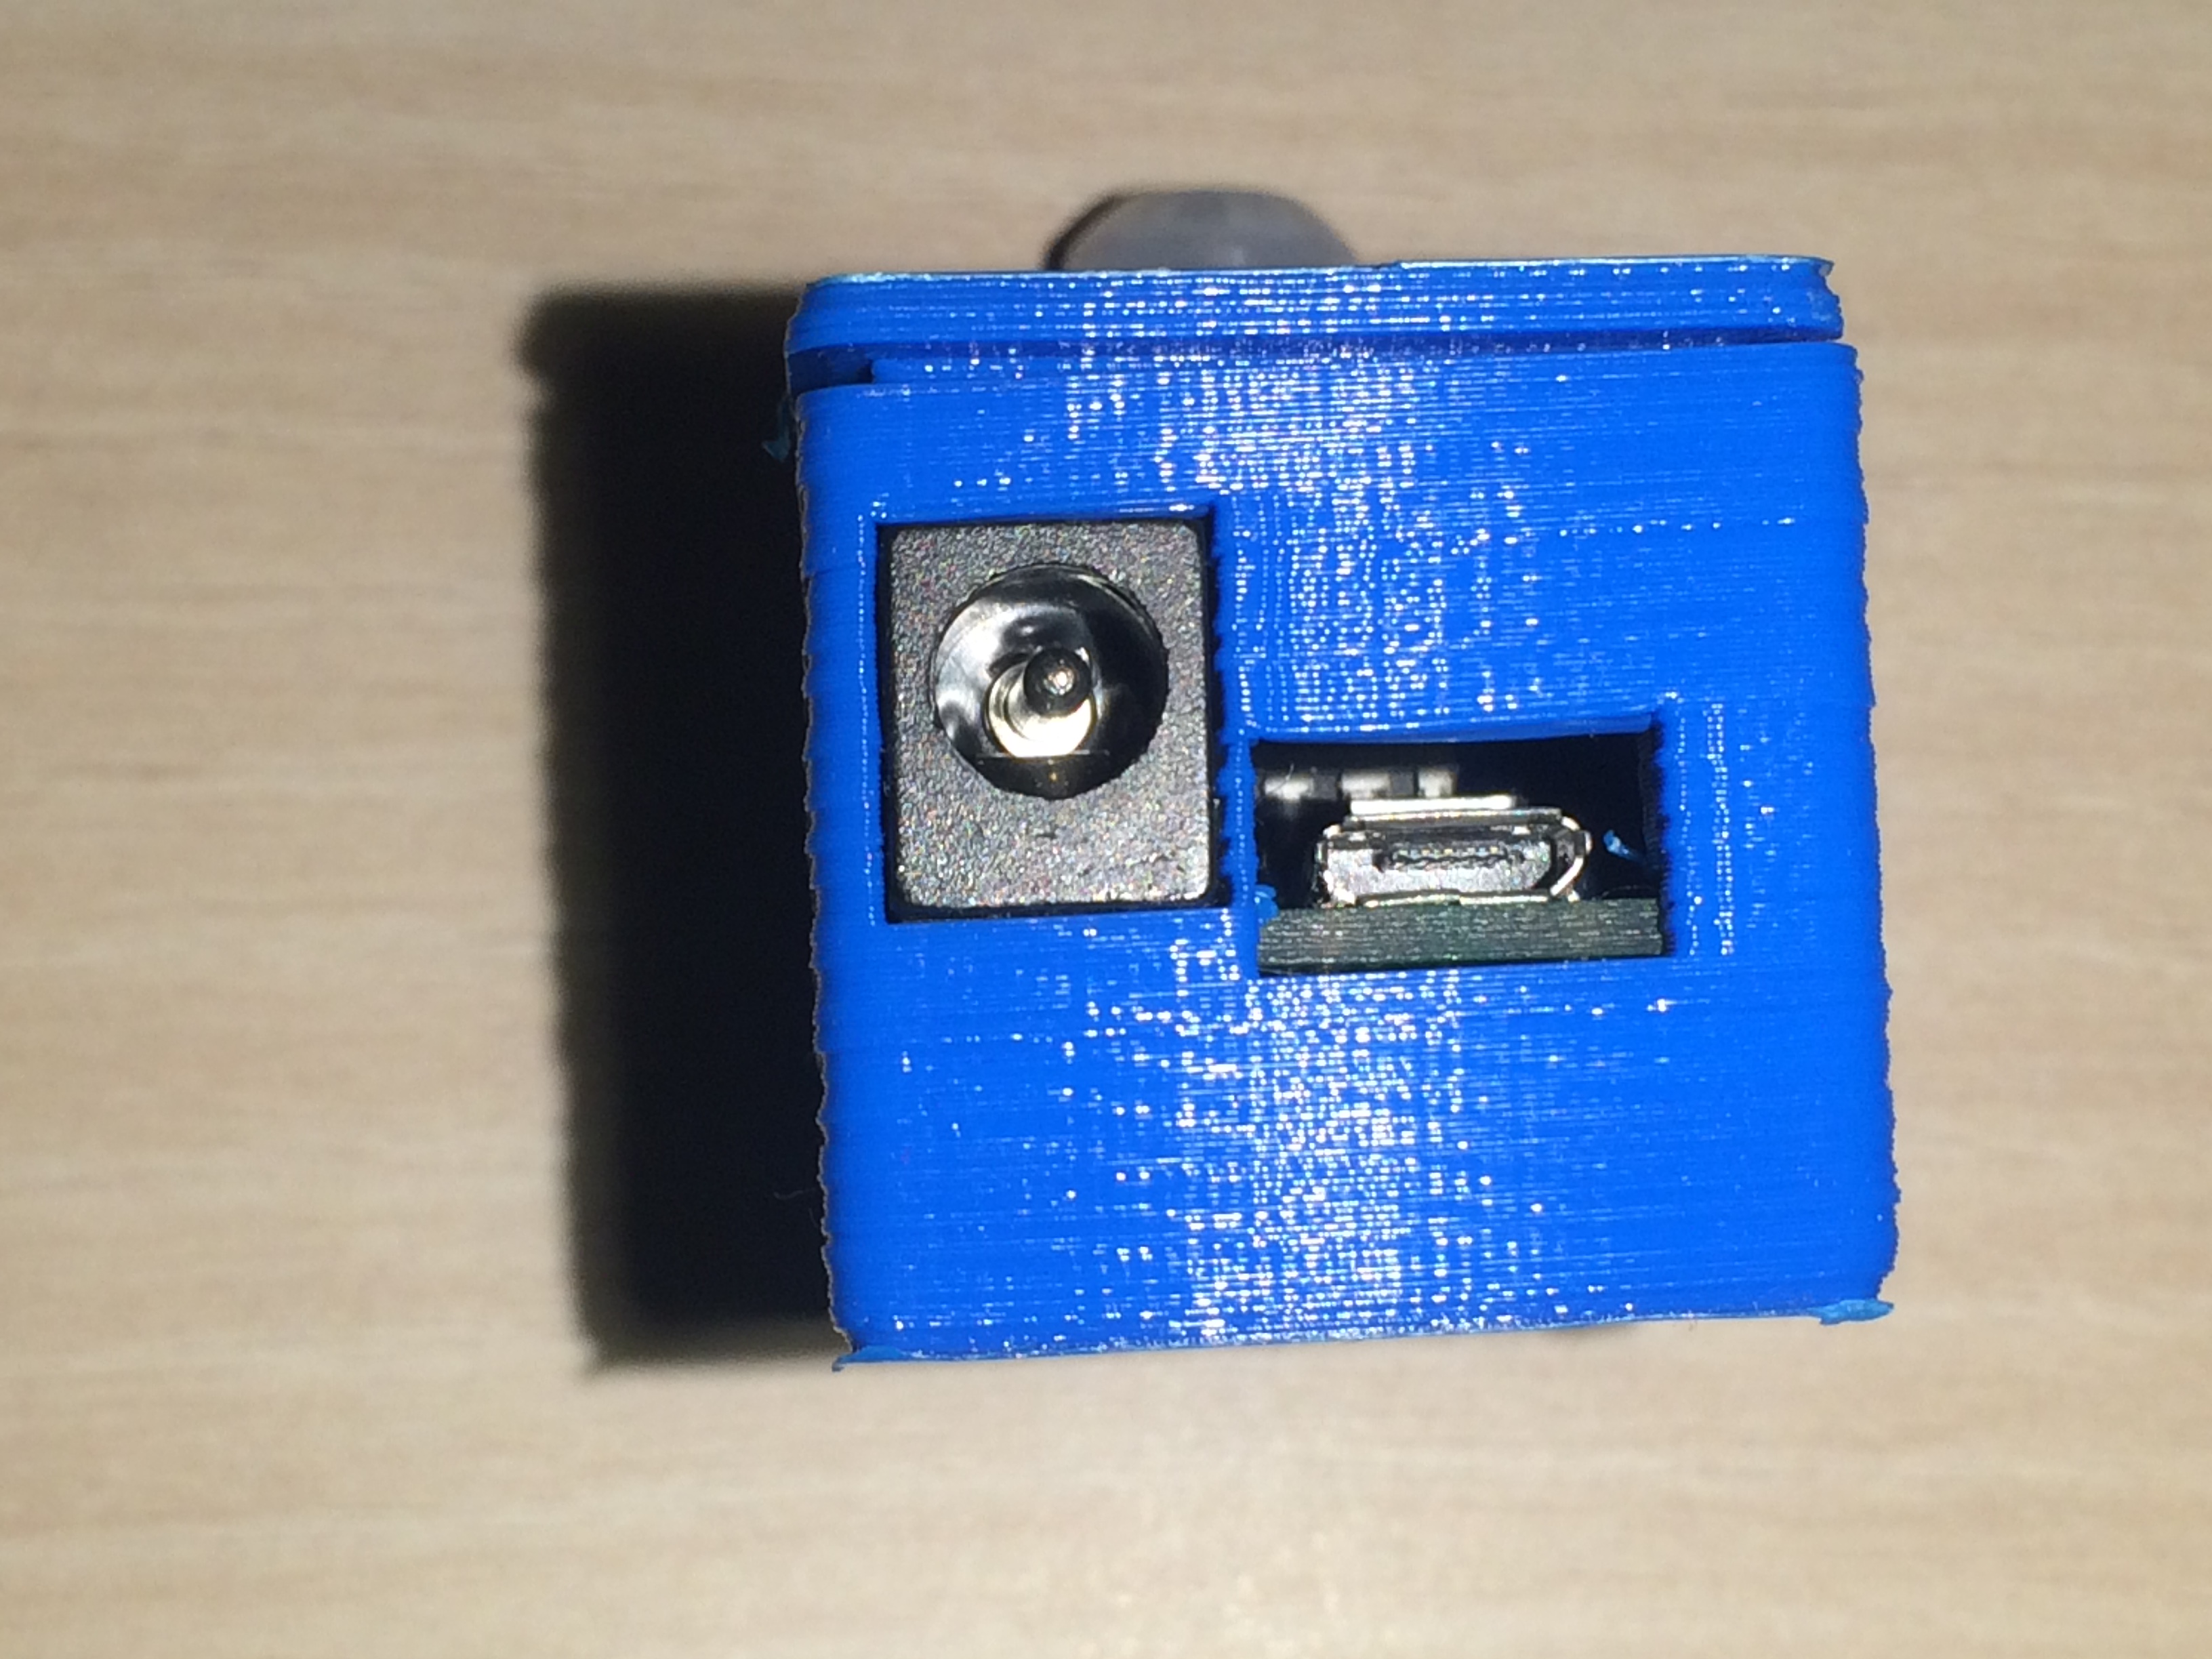
- USB power connection as well as regular DC adapter connection for being able to plug a battery pack.
In order to light up the LED strip, I knew that I needed to provide a 5V signal to the LED input so that it would light up. The first thing that I needed is a trigger for a transistor that would allow my LED strip to work. After a quick search on ALIExpress, I came up with a “Mini PIR motion sensor”

After buying it and making some tests on a breadboard, I could see that this sensor worked good but only asserted a signal for a couple of a seconds. I start to wonder how could I keep the signal asserted for a given amount of time. After some research on Google, I discovered a component which is called the timer 555. This is a very cool component as it features several use cases e.g:
- one shot trigger timer
- re-triggerable timer
- sine/square wave generation at a given frequency
- …
By reading a little bit of literature on Internet about the timer 555, I came up with a circuit that allows me to get my 5V signal for the amount of time I wanted.
I first tested my circuit with the help of circuimod which is a very handy software to test home made circuit and see how current, voltage and signals behave.
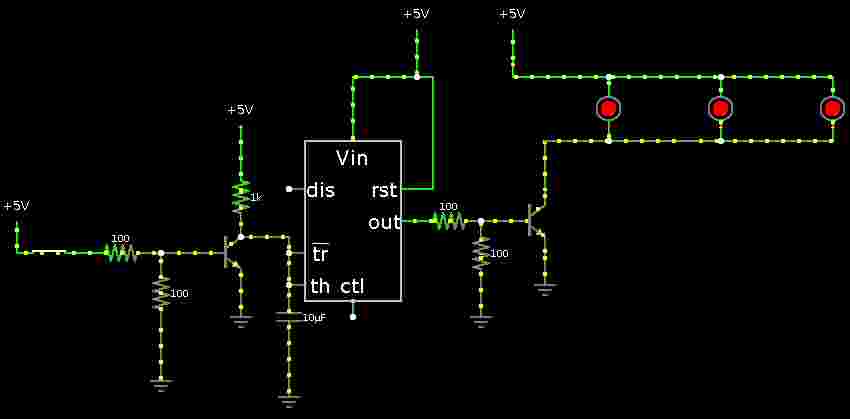
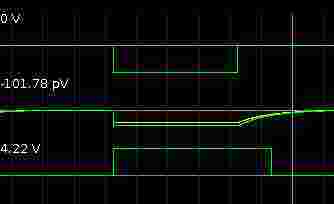
Then, after a final check on a breadboard, I modeled a PCB using the EasyEDA platform on which I also ordered some PCB prints from their own services via JLCPCB. My final schematic and PCB design are available on the project page.
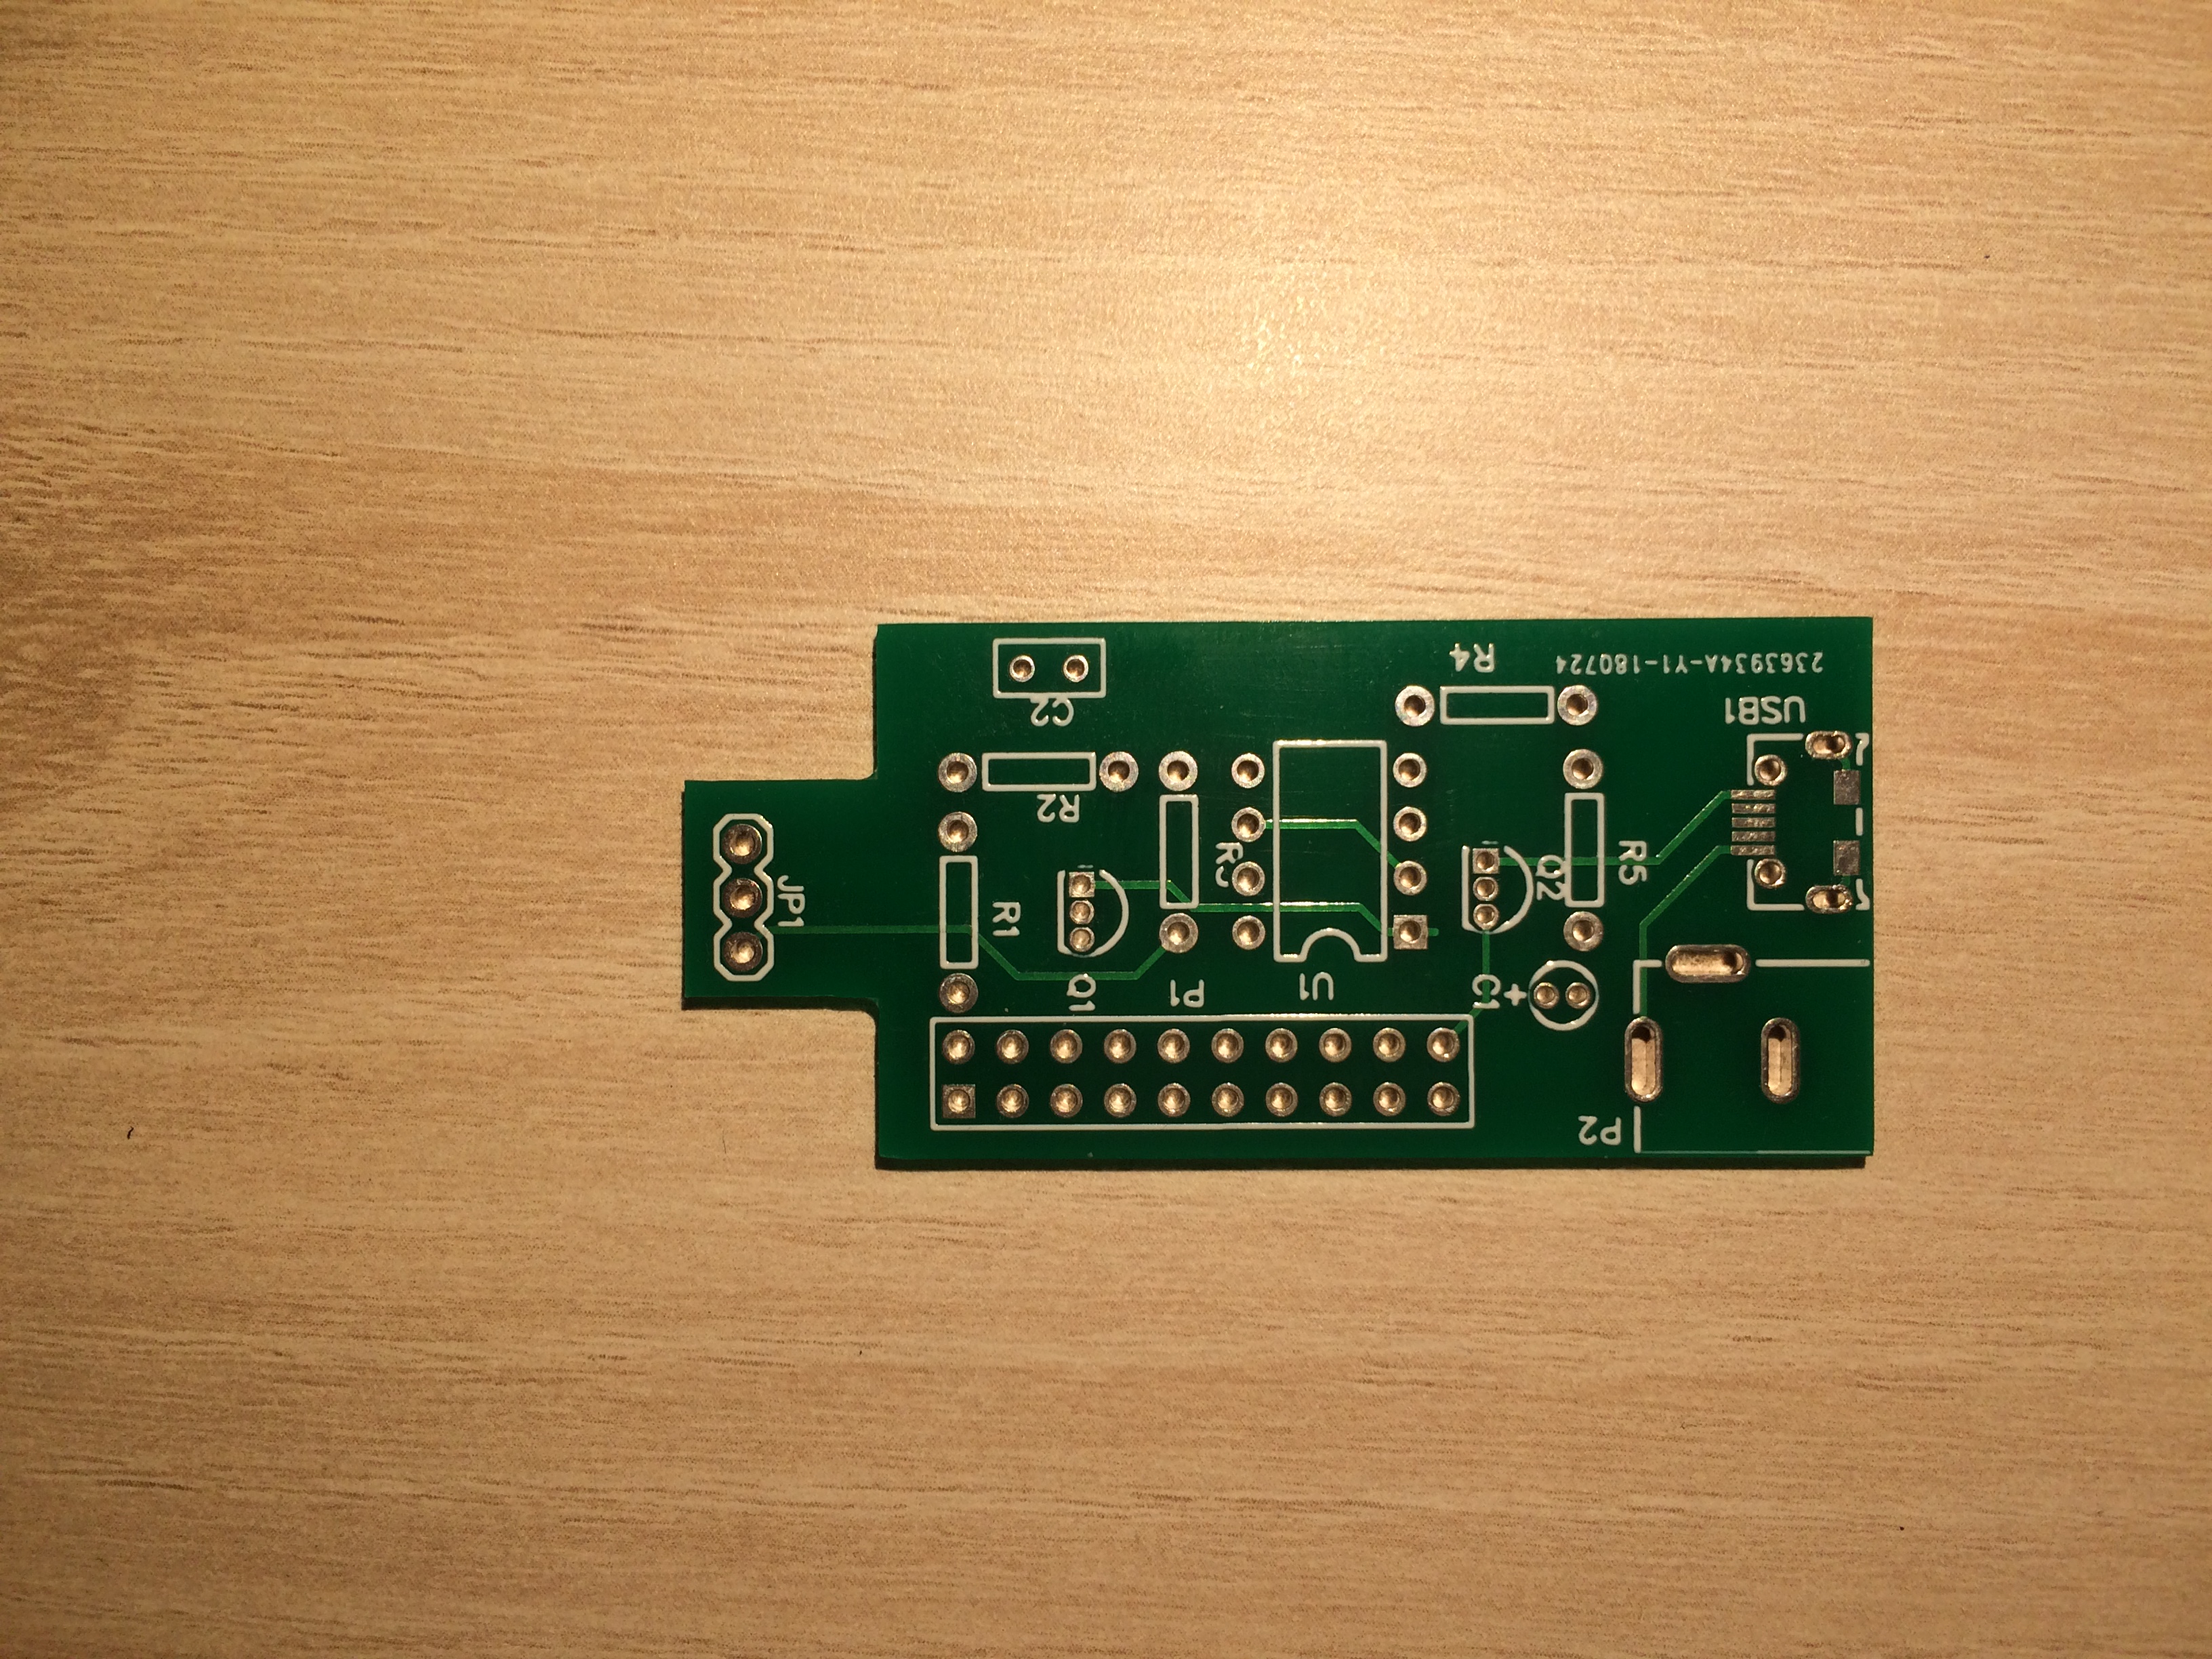
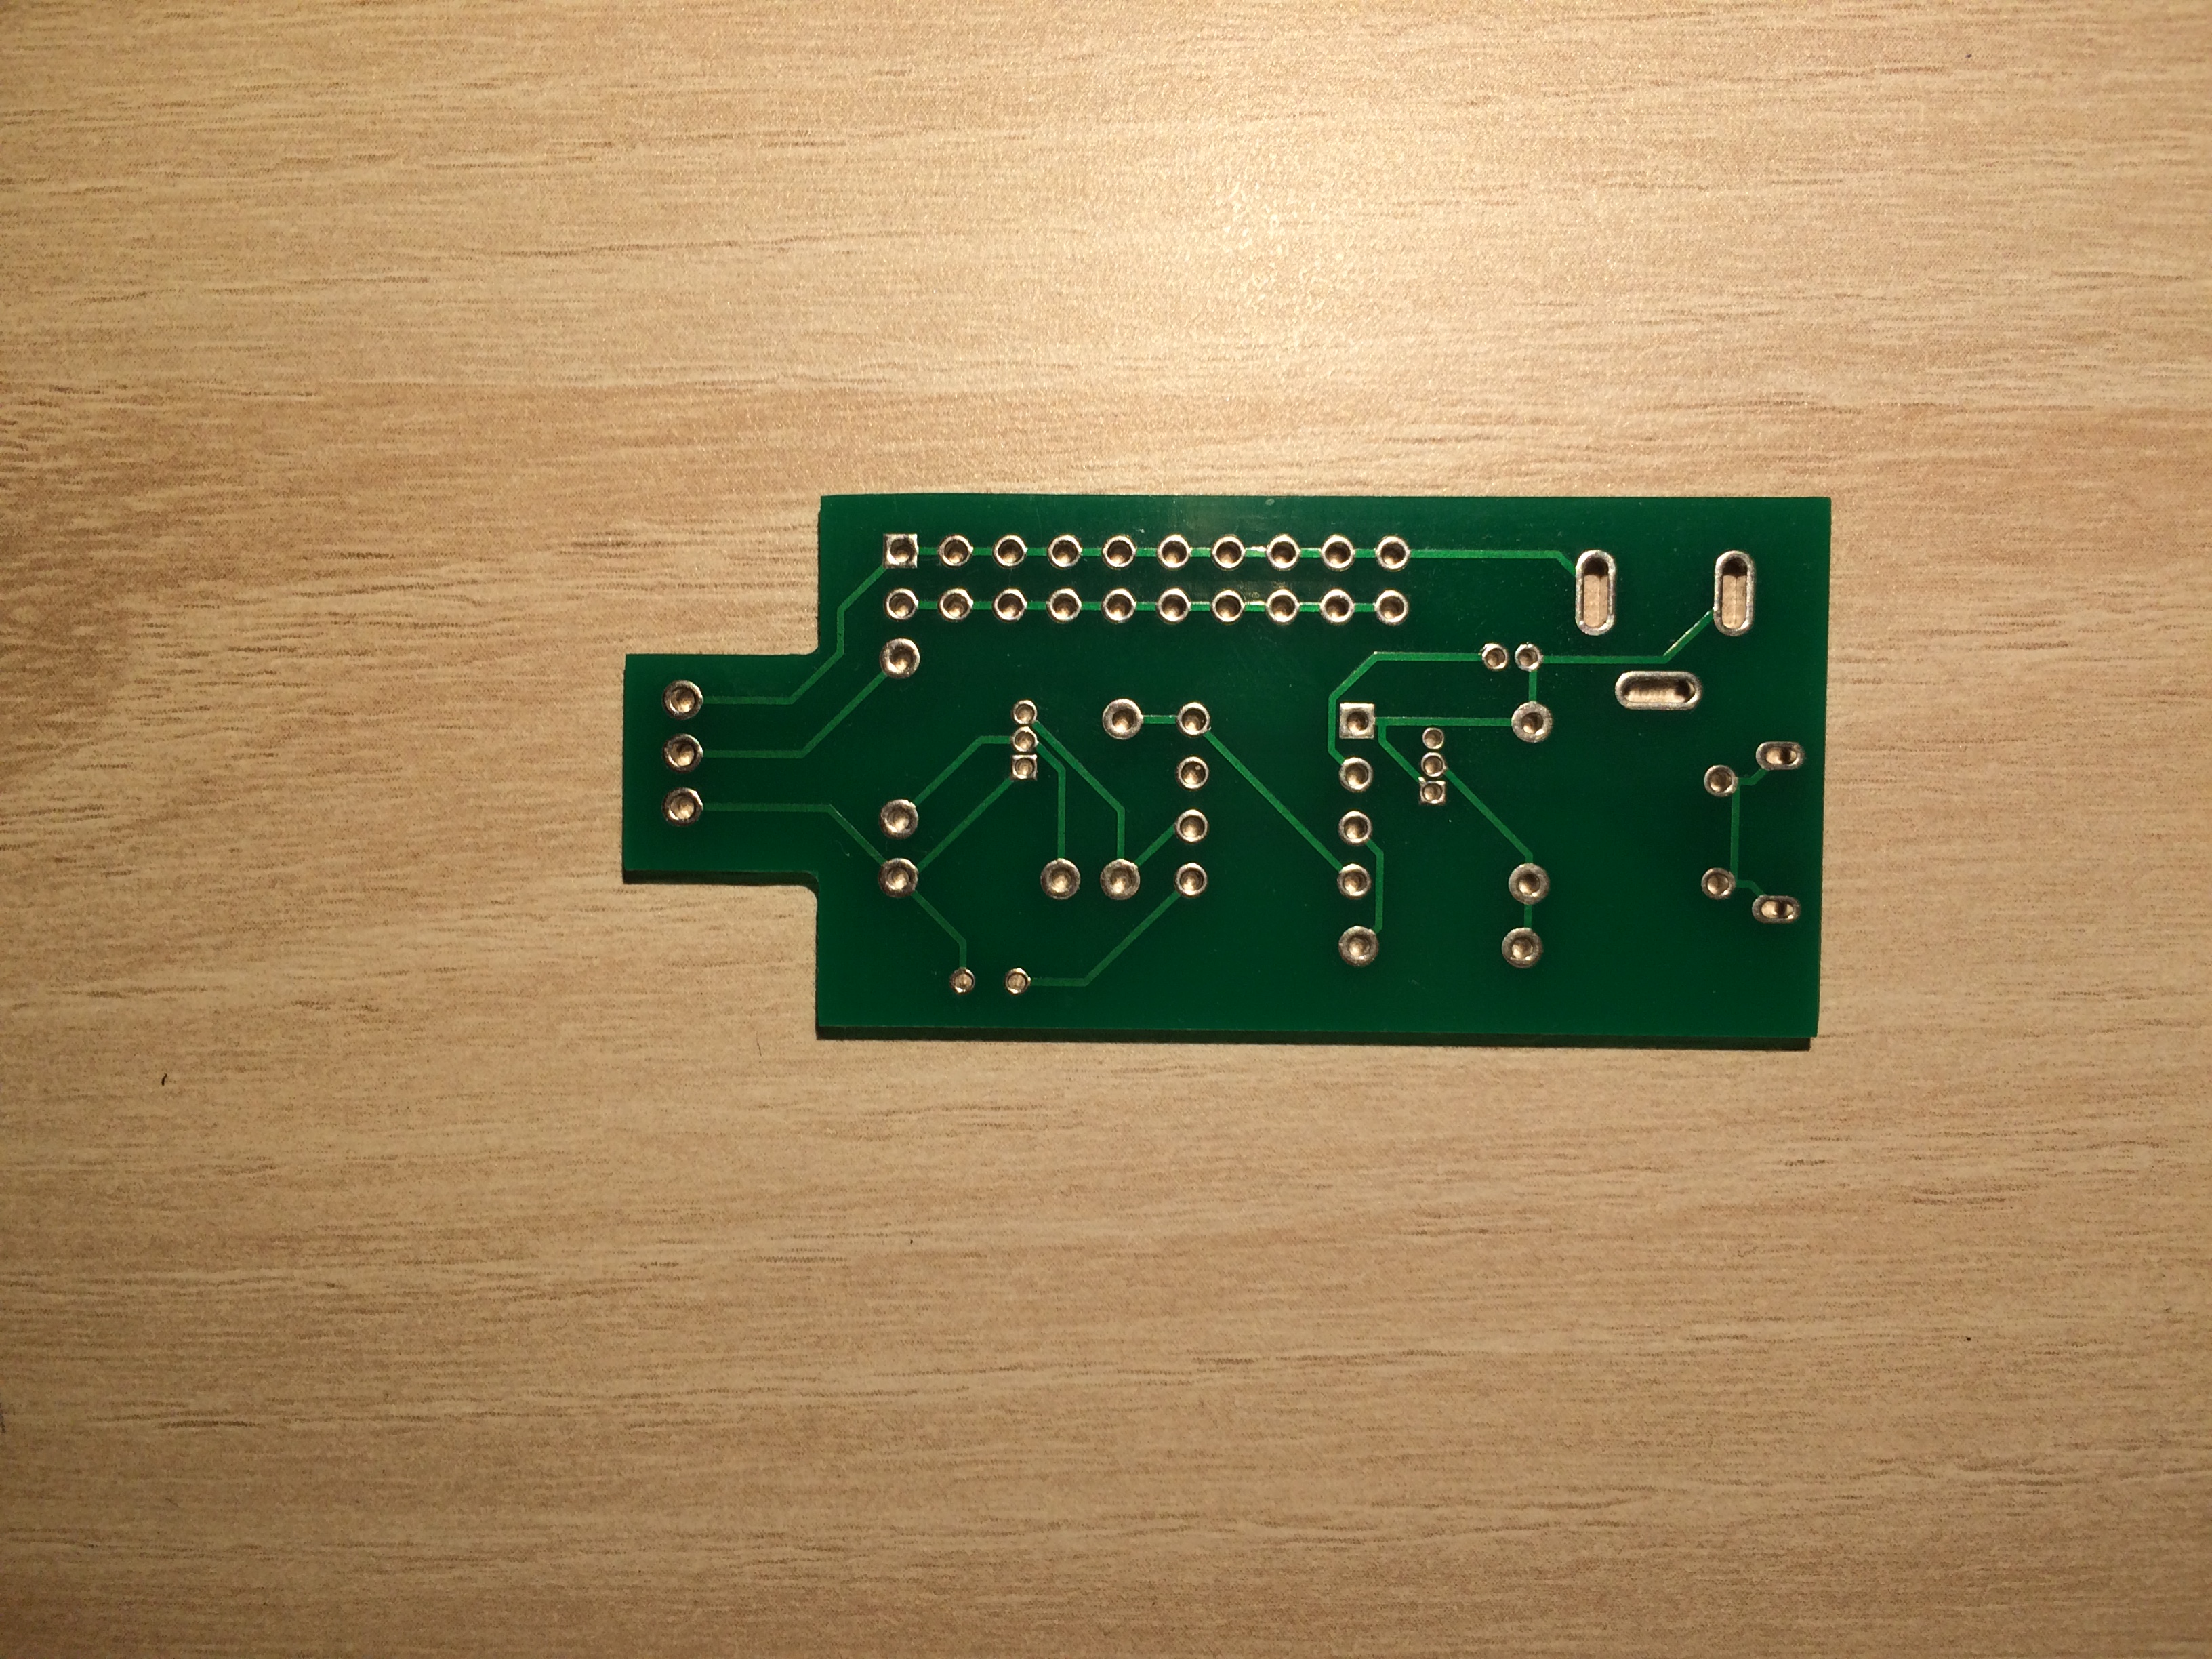
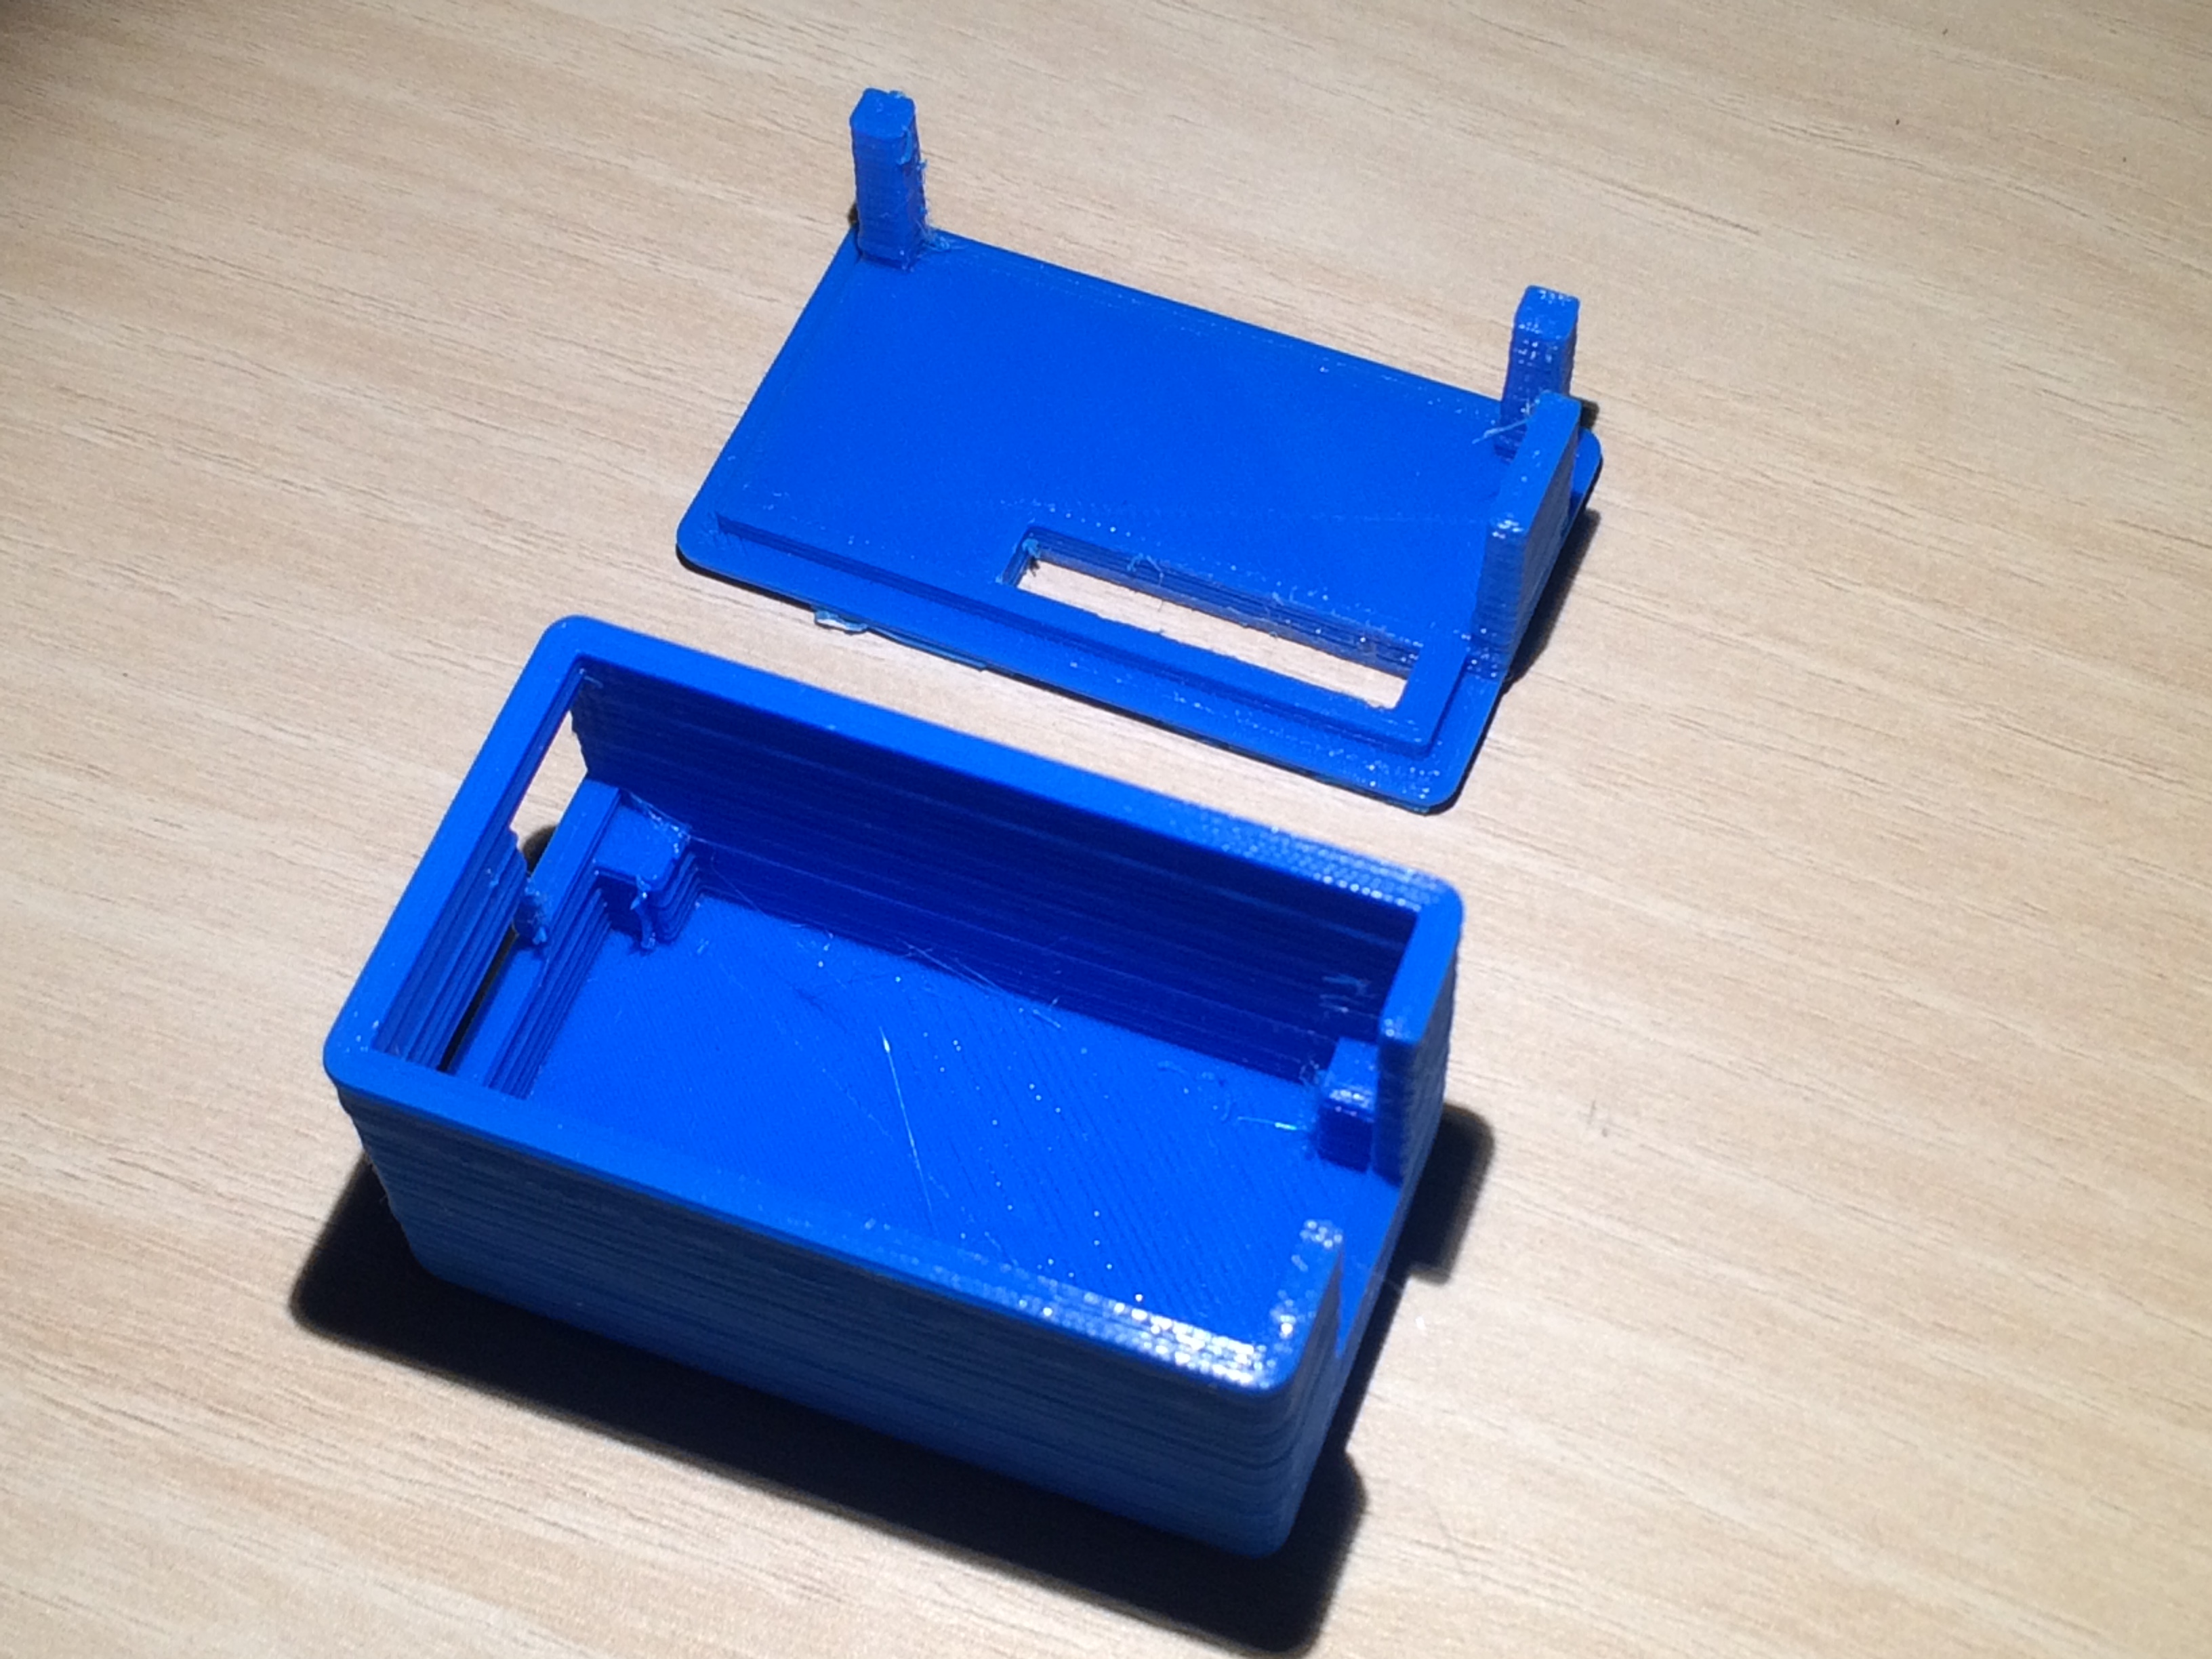
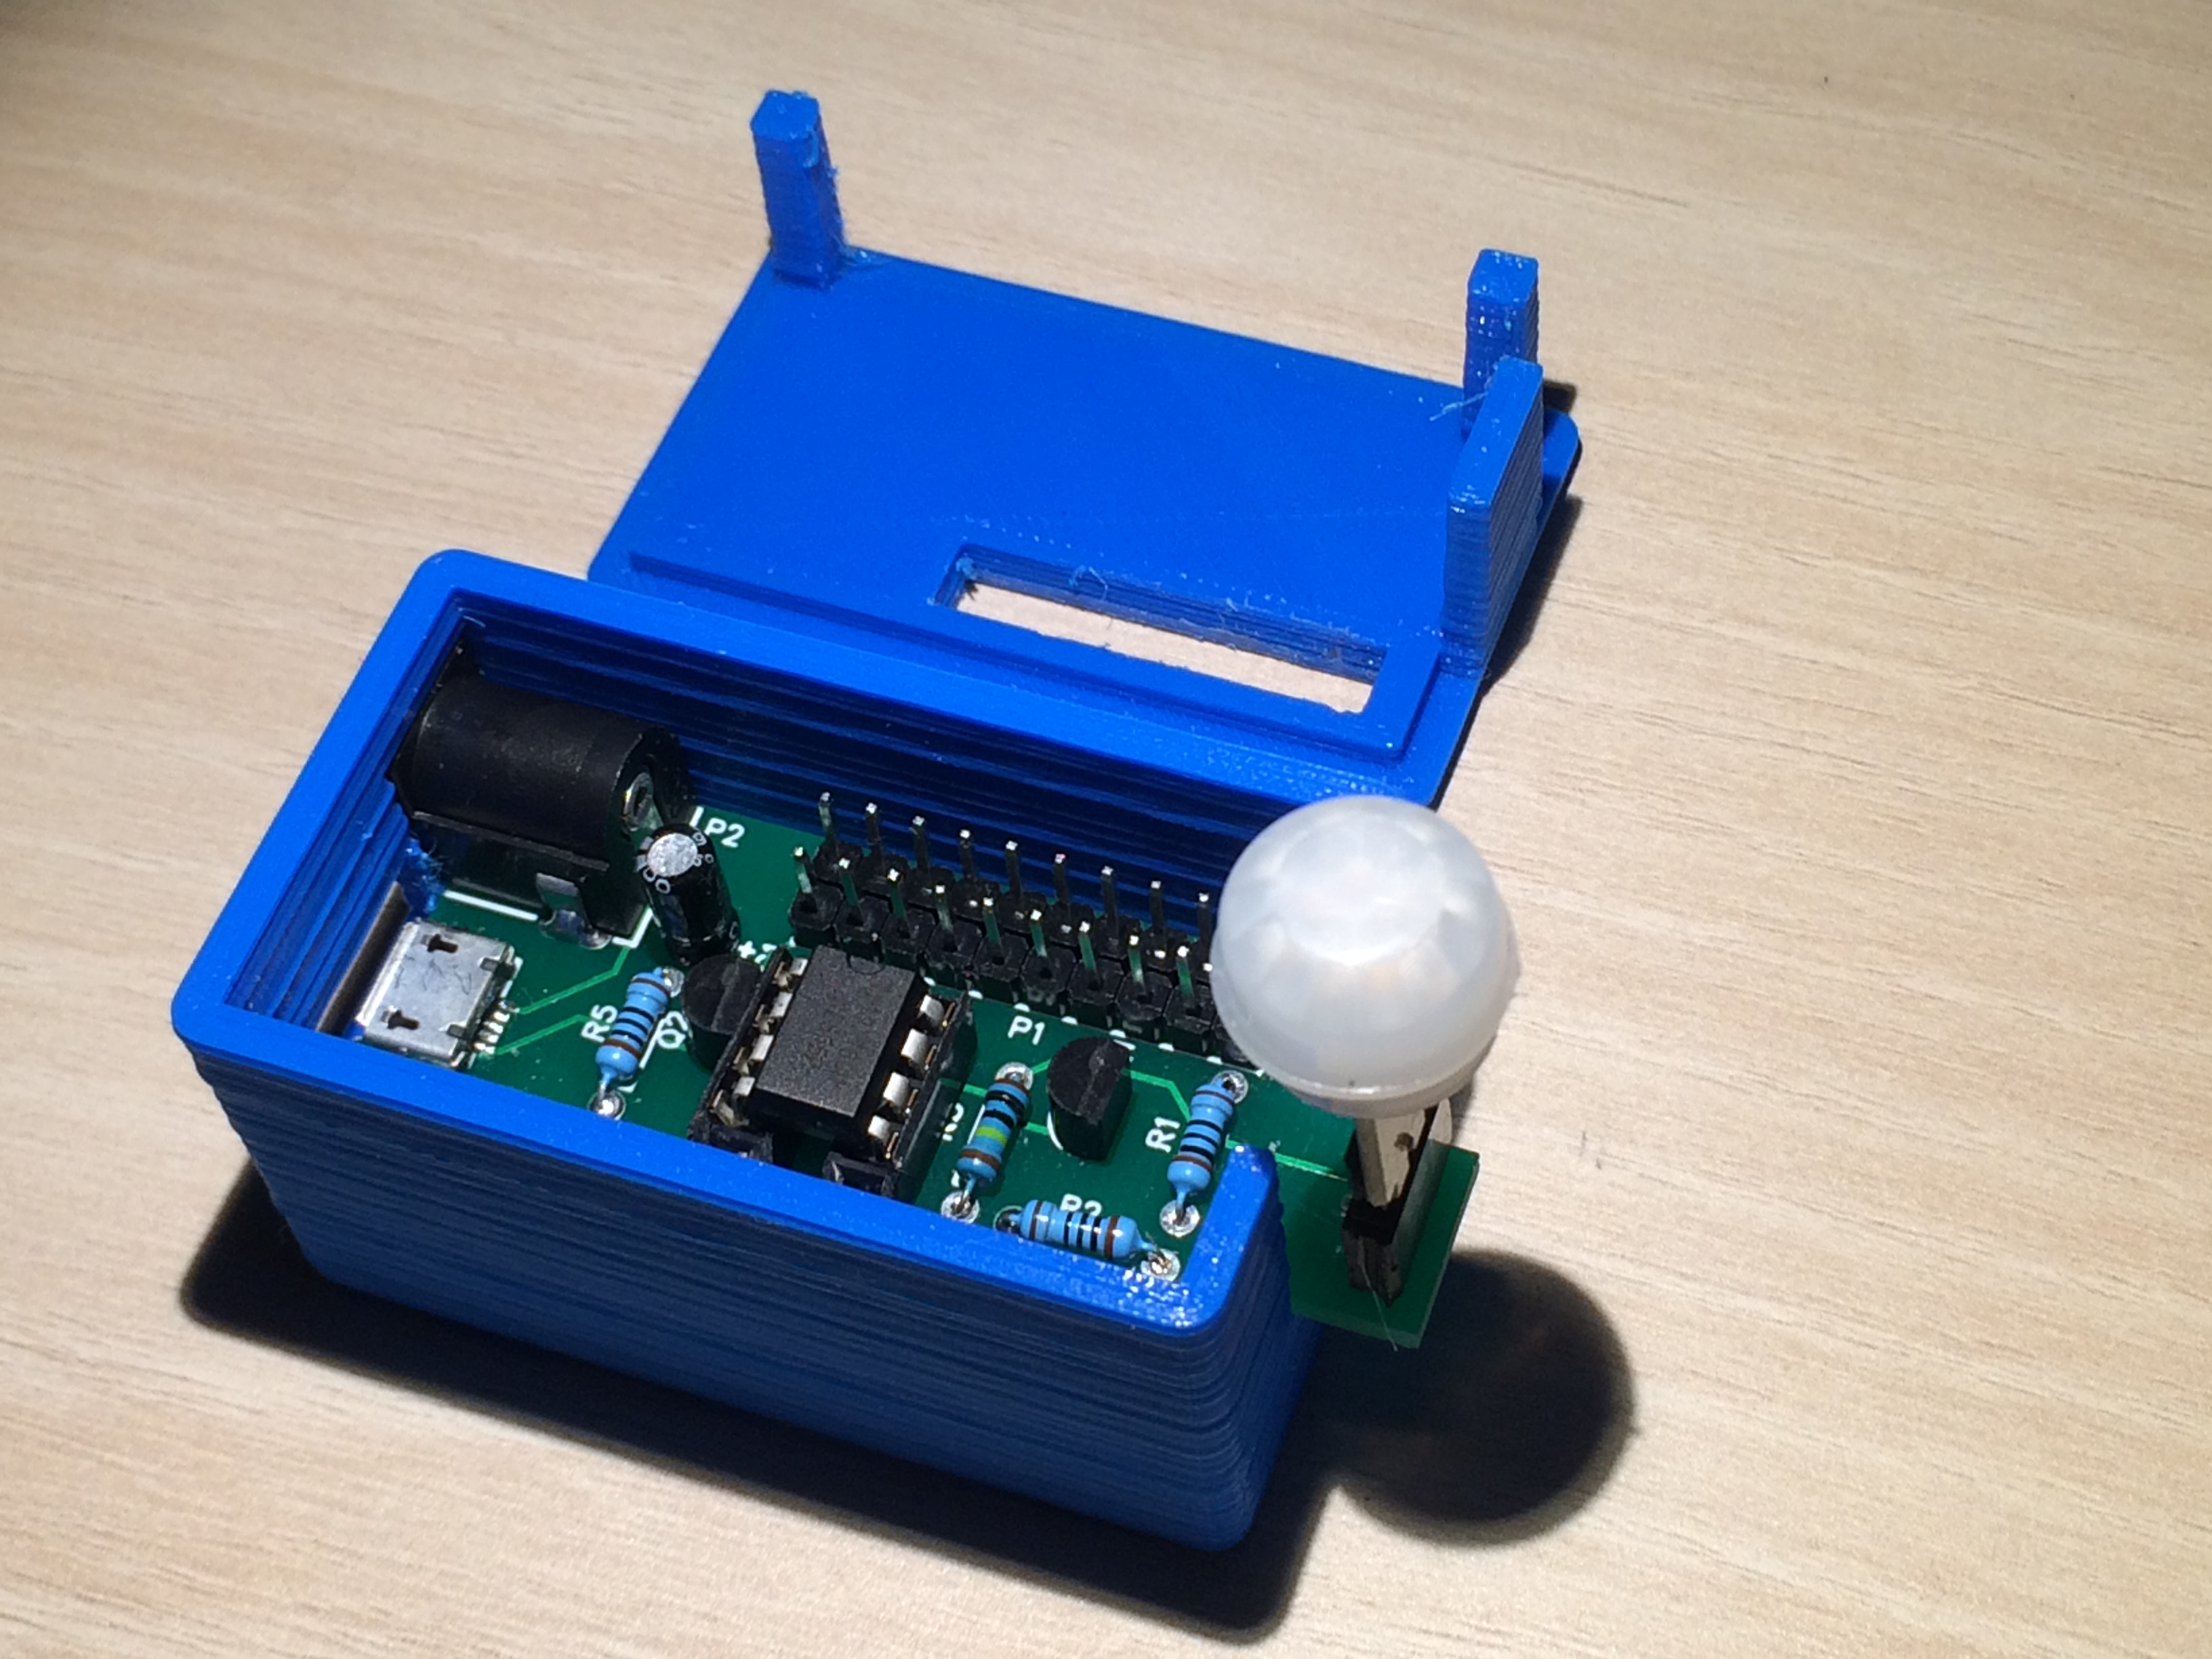
My project was now functional. But to make it complete, it needed an enclosure. Since a recently build my own 3D printer, I was able to model my own enclosure using FreeCAD. The model file is available under this link.
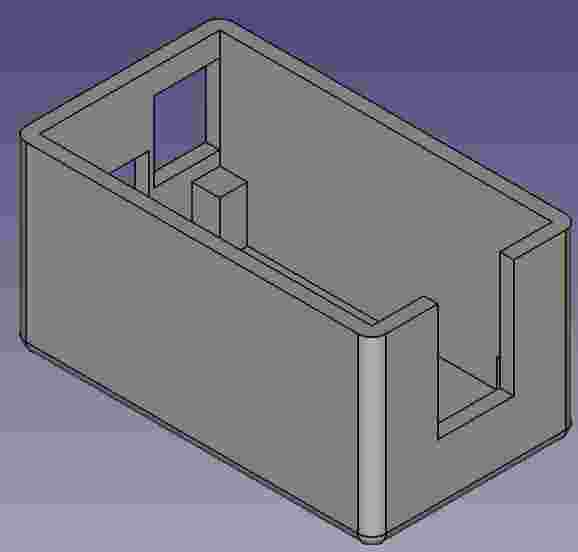
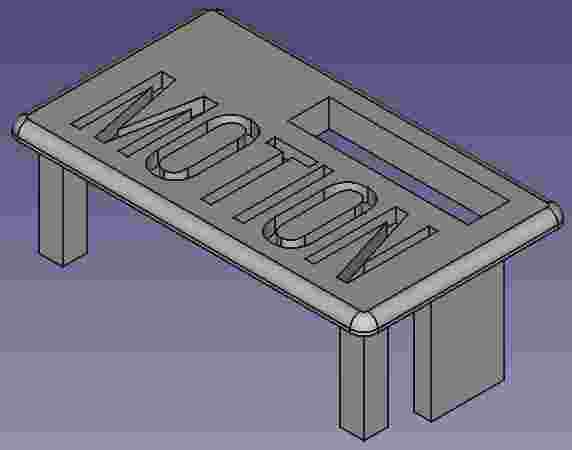
Done! This project was very interesting for me as I learned a lot during the process. I have to say I’m quite happy to have discovered the timer 555 and its amazing functionalities. If you like to know a bit more about this component, I recommend you watching the video of Great Scott over that subject on Youtube.
